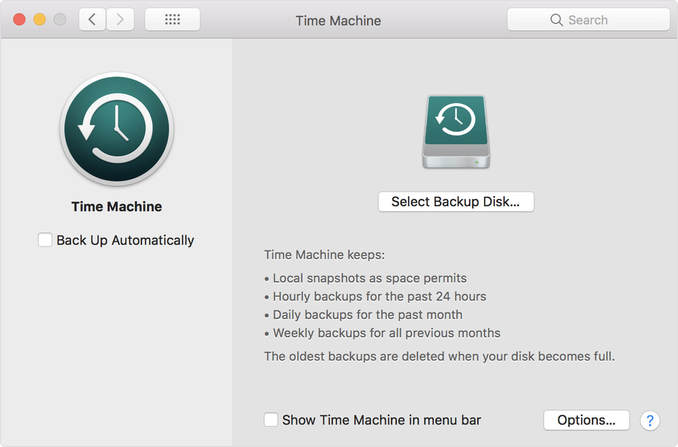
 Whether you accidentally deleted a file or lost a bunch of data to a hard disk crash, it's always a good idea to backup your machine regularly. Both Windows and Mac OS X have good built-in backup utilities, so you can start with just a few steps. That's what you need to do. 1. How to Use and Restore from Time Machine Your Mac comes with a built-in software for simple backup. Just open the Time Machine and connect an external drive to Mac (First format the hard drive with Disk Utility), you may be asked to if you want to use this drive to back up with Time Machine. Tick the option “Encrypt Backup Disk” to protect the drive with a password and select “Use as Backup Disk”. Time Machine can automatically backup all files so that you can recover a single file or the whole system from the backup. Note: The oldest backups are deleted when your disk becomes full. Step 1. Click “System Preference” to open Time Machine and turn it on, then select the connected drive for backup. Step 2. Time Machine will start to back up all files and it will show the remaining time to wait. Optional you can exclude data from the backup. Step 3. After the backup completes, right click the drive and select “Eject” to unplug it. Alternatively, you can directly move specific files or folder into your external hard drive for backup. If you deleted or lose a file or folder, just restore them from Time Machine backup. Step 1. Click “System Preference” and “Enter Time Machine” in menu bar. Step 2. Find the target file or folder, and click “Restore”. Step 3. Time Machine will copy that file back to the original location on your hard drive. 2. How to Backup Mac to iCloud You only need to set up iCloud on Mac in a few easy steps, then the backup is automatic. Step 1. Update your Mac OS to the latest version. Step 2. Select “System Preferences” in Apple menu. Click iCloud and enter your Apple ID. Choose what you want to back up, such as photos, mail, contact, notes, etc. (you have 5GB of free iCloud storage. If you need larger space, upgrade your storage plan) Step 3. Click “Option” and enable “iCloud Photo Library”, “My Photo Stream” and “iCloud Photo Sharing”. 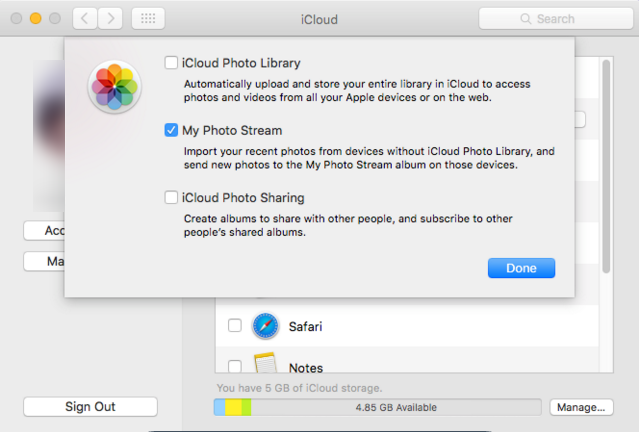 Without backups, it is really hard to restore data. Although you can use a third-party software like RePicvid Free Photo Recovery, there is no guarantee that all your data will be restored.
0 Comments
Leave a Reply. |
AuthorStudy solution of data recovery from different storage devices. ArchivesCategories |
 RSS Feed
